 |
In't
Westy's Brilliant ! |
|
| Praying
for dry weather ?
It's all coming together. |
With the top of the canvas securely
in place, replace the support legs. Locate the original holes by coming through the back
side with a sharp object and piercing the canvas. Don't forget the washers on the back
side of the bolt. (fig 7) With the top up, line the center marks on the canvas up with the center mark on the van roof. Place the plastic welt cord under the front aluminum molding & secure with its screws, starting in the center & working your way out. Do the same for the rear. Next comes the corners. Locate where the corners are going to be & notch the plastic welt cord (be careful not to cut the threads) to help make the bend. Now put the two long side aluminum moldings in place, and screw down each of the corners, one at a time, starting at the front and rear moldings and continuing for a couple inches past each corner. This is another very tedious and time consuming step (aggravating, too!), but take your time because the overall fit of the tent depends on good corners. With all four corners secured, work from each corner out to the middle of each side, pulling the welt cord under the rest of the aluminum molding and screw in place as you go - but don't tighten the screws down yet. Once all screws are in place, go back and tighten. If the canvas is a little oversize, the welt cord will appear wrinkly at first, but will smooth out as you tighten the molding.(fig 8) back / next |
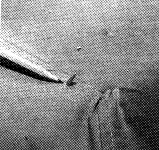 fig 7 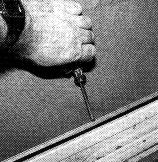 fig 8 |